15 years one-stop China custom CNC machining parts factory
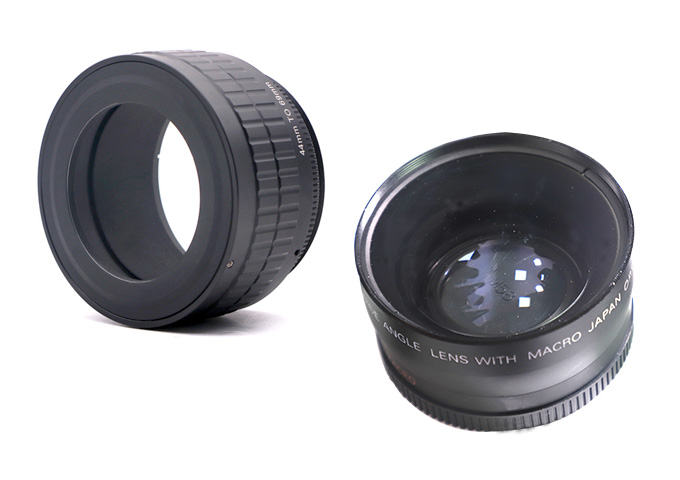
Project name: Camera lens ring enclosure
Customer requirements: Material requirements--AL6063T6
Size requirements-in line with customer drawings (full inspection required)
Appearance requirements-Class A, all external leakage surfaces must not have knife marks
Surface treatment-surface oxidation black
Capacity requirements-high-precision custom machining and production (Nissan 3K +)

Project Background:
1. The Camera lens ring enclosure is a world-renowned brand camera, taking the mid-to-high-end route, and has very strict product quality requirements.
2. When oxidizing, the blasting particles are 220# glass sand, and there should be no knife marks on the surface of the camera lens ring enclosure before oxidation.
3. The camera lens ring enclosure structure is more complicated. There are more than 100 sizes that require full inspection, of which 60% have a size tolerance of less than 0.02mm, which requires full inspection.
4. The above reasons cause difficulties in Camera lens ring enclosure machining and inspection. The customer found 6 CNC machining suppliers for proofing, but none of them could meet the customer's quality requirements. Our company completes the proofing in three days and ships it within one week.
solution:
1. According to the customer's drawings, carry out the secondary development and drawing of the drawings, accurately calculate the difference between the tolerance size in the production process and the tolerance size required by the customer, and ensure that the finished product size meets the customer's requirements.
2. Customized special tooling and fixtures, using high-quality tools. Optimize programming tool path parameters according to product characteristics to ensure that there are no tool marks on the outer surface of the product.
3. Use a three-dimensional inspection machine to conduct a comprehensive inspection of the camera lens ring enclosure to ensure that the defective rate of shipments is controlled within 3%.
Final case:
The camera lens ring enclosure process development of this project has been repeatedly verified by customers, and the defective assembly rate is within 3%. The structure and appearance exceed the original requirements of the customer, which increases the customer's delivery volume and saves the cost of customized machining parts.
Ready To Start Your Next Project?
Get Instant Quote

Request a Free Quote
Send us a message if you have any questions or request a quote. We will get back to you ASAP!